Quick Start
This gets a drone navigating your level in a few minutes. It assumes a level with some static geometry to fly around.
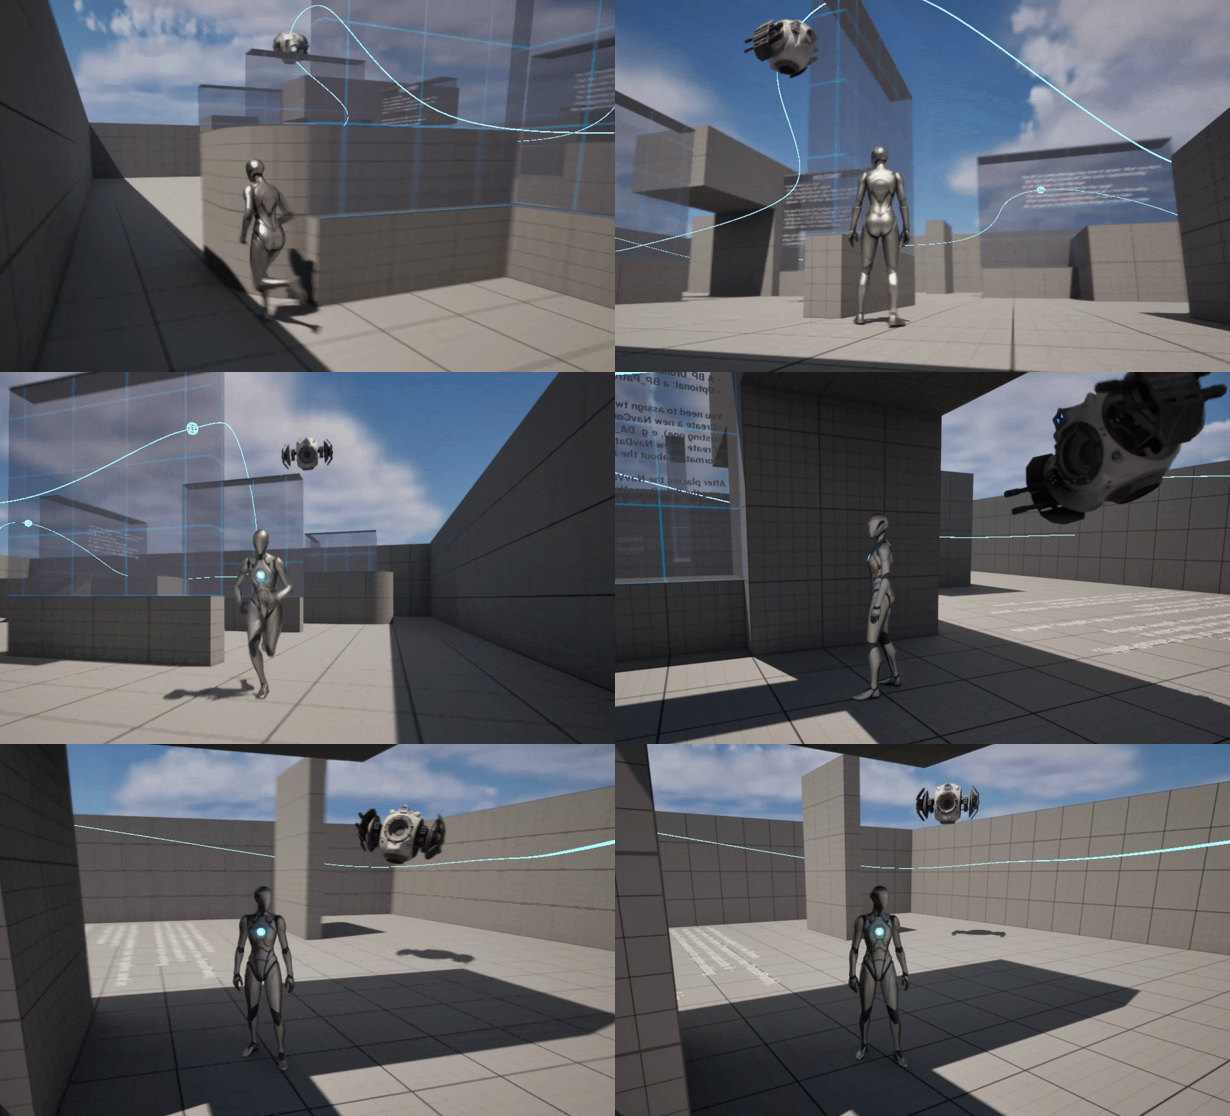
At a glance
The whole setup, in the order you'll do it — each step is detailed below.
- Install from Fab, or Migrate the drone project's
Contentfolder into yours. - Drop one
BP_DroneNavManagerin the level and assign it aBP_DroneNavDataasset. - Add one or more
BP_DroneNavVolumeactors, sized over the airspace the drone may use. - Leave collision alone for the included drone; match the radii only if you build your own.
- Run the
EUW_BakeDroneNavwidget and press Bake Navigation. - Press Show Nav Graph to check the result — green is connected, red is isolated.
- Drop in
BP_AIDrone_AuroraorBP_AIDrone_AI41(controller and movement come pre-wired). - Optional: add a
BP_PatrolPathand set the drone'sPatrolPathproperty to it. - Press Play — the drone patrols, and chases when it detects the player.
1. Installation
If installing from the Fab marketplace, all you need to do is to open the Epic Games launcher, go to your library and add this product to your project. Alternatively, the AI Drone comes with its own Unreal project. You can either use it directly, or migrate this project to yours — Unreal makes that a one-step operation:
In the drone project's Content Browser, right-click the Content folder, choose Migrate… and select your project's Content folder.
2. Place the Nav Manager
Drag BP_DroneNavManager into your level. There should be exactly one per level — it owns the navigation graph. Create a DataAsset of class BP_DroneNavData and assign it to the DroneNavManager in the properties panel – this will host the generated navigation data.
3. Place one or more Nav Volumes
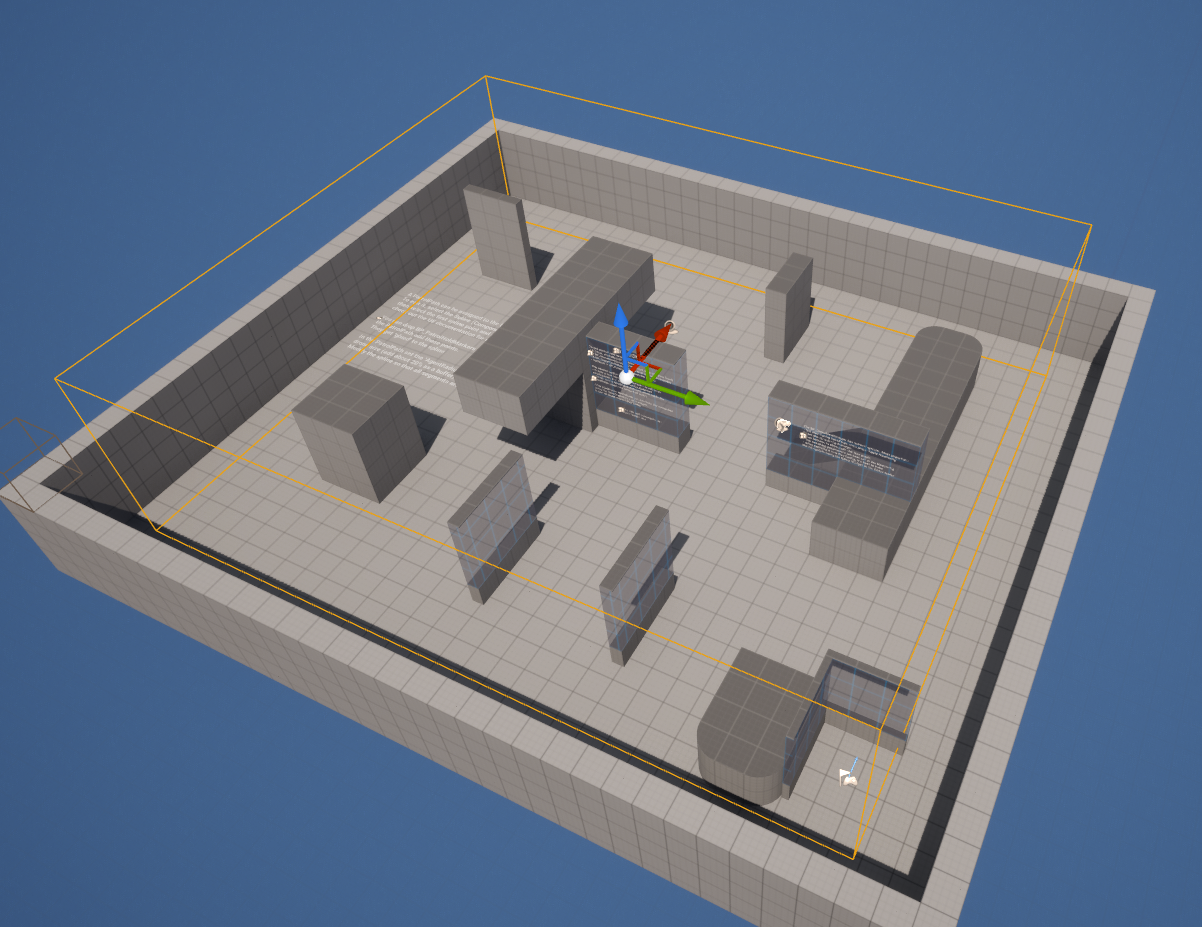
Drag BP_DroneNavVolume into the level and size its GenerationBounds box (via the Box Extent) to cover the airspace the drone may use; move/rotate the actor to position it. The volume fills that region with candidate nodes. It should be smaller than the level.
You can place several volumes — the manager aggregates them all into one graph. Set density per volume with GridSpacing (smaller = denser): use big, sparse volumes over open areas and smaller, denser ones near complex geometry. Different densities can abut — the graph stitches across them. There's no config asset to assign; tuning is inline on each volume.
4. Check drone collision & clearance
The included BP_AIDrone is already transparent to the navigation trace channel, so out of the box there's nothing to fix here. What does matter is sizing: keep the manager's TraceRadius and the volume's NodeClearanceRadius matched to your drone's collision-sphere radius (sphere radius + ~25–30 buffer). If you build a custom pawn or resize the sphere, read Drone Collision Setup.
5. Bake the graph
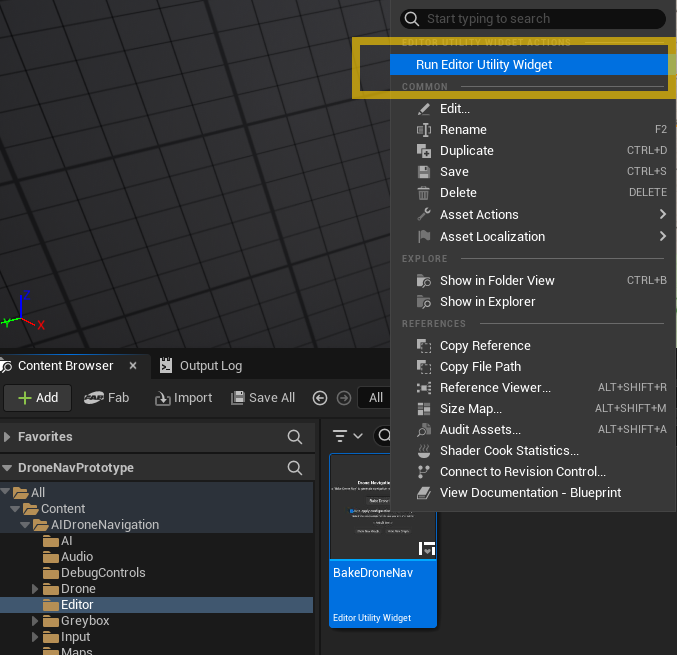
Open the EUW_BakeDroneNav editor widget (in the EditorUtilities folder – right-click it → Run Editor Utility Widget) and press Bake Navigation. This builds the graph from your volumes and writes it into a data asset so it loads instantly at runtime.
Watch the output log — the bake prints node/connection counts and warns if any nodes end up isolated.
Re-bake whenever you change level geometry or volume placement. The bake reflects editor-time collision.
The bake runs in a single Blueprint pass, which has a built-in iteration limit (default 1,000,000). If the log warns that the bake may exceed it — or you see a "Runaway loop detected" error — raise the limit: Project Settings → Engine → General Settings → Maximum Loop Iteration Count (or search Project Settings for "Maximum Loop Iteration Count") and set it to 10,000,000 or higher, then re-bake. See Troubleshooting.
6. Verify the graph
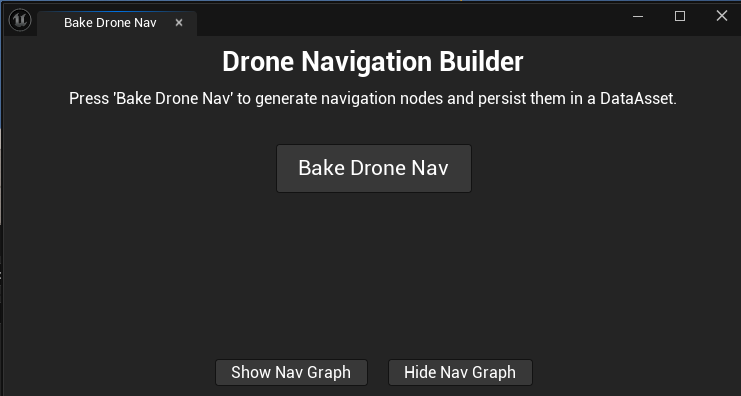
In the EUW_BakeDroneNav widget (or on the manager) press Show Nav Graph. You'll see the baked graph drawn in the viewport: green = connected nodes, red = isolated, blue = connections. Press Hide Nav Graph to clear it.
If you see lots of red, jump to Troubleshooting.
7. Add the drone
Drop one of the ready-made drones — BP_AIDrone_Aurora or BP_AIDrone_AI41 — into the level. Each is the base BP_AIDrone plus a mesh, and arrives with its own AI controller (BP_AIDroneController) running the behavior tree, plus the movement component, facing, rotor audio and banking already wired.
To use your own model, create a Blueprint child of BP_AIDrone and assign your SkeletalMesh or StaticMesh under BodyMount. That's the whole job — all logic, and the camera used by the drone-view toggle, are inherited. The two shipped drones are exactly this and nothing more.
8. (Optional) Give it a patrol route
Add a BP_PatrolPath, shape its spline, then select your drone and set its PatrolPath property to that path. With no target in sight, the drone patrols the spline; when it senses the player, it chases. See Patrol.
9. Play
Press Play. The drone patrols (if you set a path) and chases when it detects the player.
To watch the exact route it computes, enable DrawCalculatedPath? on the manager — see Debugging Tools.
Shortcut: copy a working setup from the example map
Instead of placing each actor from scratch, you can copy the already-configured ones out of the L_DroneNav_Demo example map (it's in your project after Step 1) and paste them into your level:
- Manager — drop a fresh
BP_DroneNavManagerinto your level and assign it aBP_DroneNavDataDataAsset (one per level). - Volumes — copy one or all
BP_DroneNavVolumeactors over, then resize/position them over your airspace and tweakGridSpacingper volume (see Step 3). - Drone — copy one of the drones (
BP_AIDrone_Aurora/BP_AIDrone_AI41) over (controller, movement, audio and banking come pre-wired). - Patrol path — copy the
BP_PatrolPathover, reshape its spline to your level, then select the drone and set itsPatrolPathproperty to that copied path. - Bake — run Bake Navigation (see Step 5), then press Play.